Showing posts with label blogtoberfest. Show all posts

Friday, October 19, 2012

My LBD Is A Maxi

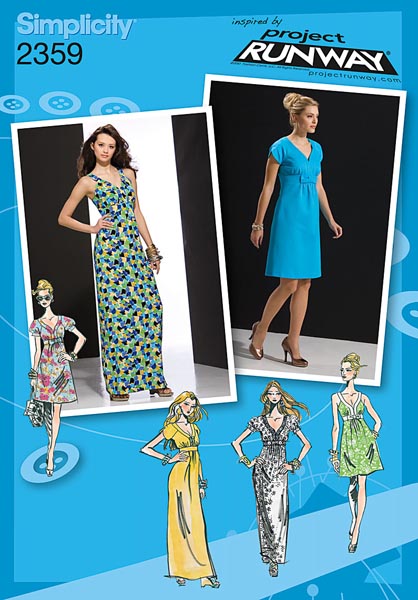
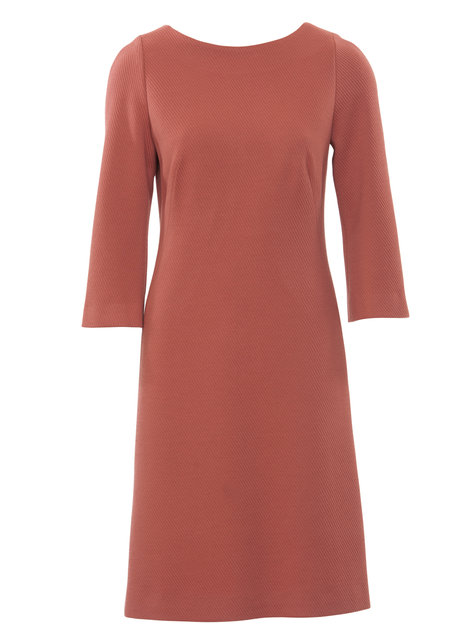
Okay, last time I talked about this I said I planned on using BurdaStyle 9-2012-109 as my little black dress. Well the more I think about the length I'm going to have to add to it, the more I think its not going to work. I don't want something that is going to look like a sack and its hard to tell from the line drawings how much shape is already drafted into the pattern. So at this point I'm still debating with myself which pattern in my collection to use. At this point Simplicity 2359 is the front runner with BurdaSyle in second and a few others behind but I won't reveal those at this point since I'm not real sure about them.


Which one would you choose?
Until next time, happy sewing...

P.S. Surprisingly I have no black fabric which means a shopping trip soon, I'll keep the camera phone out for pics ;-)

Wednesday, October 17, 2012

Almost done


Another quick post, I'm almost done with the jeans, the fit is okay but I am learning something about my body more on that in the final post. This was my first time doing a fly front different then the popular Sandra Betzina method found in Power Sewing, it was okay but mines still could use some work, other than that the pants went together smoothly . So now I just have to add the waistband which I am going to have to make smaller and then hem.  So tomorrow I hope to have a finished pair of jeans and a complete review.

Until next time, happy sewing...


Monday, October 15, 2012

Vogue 8330...Slowly Getting There

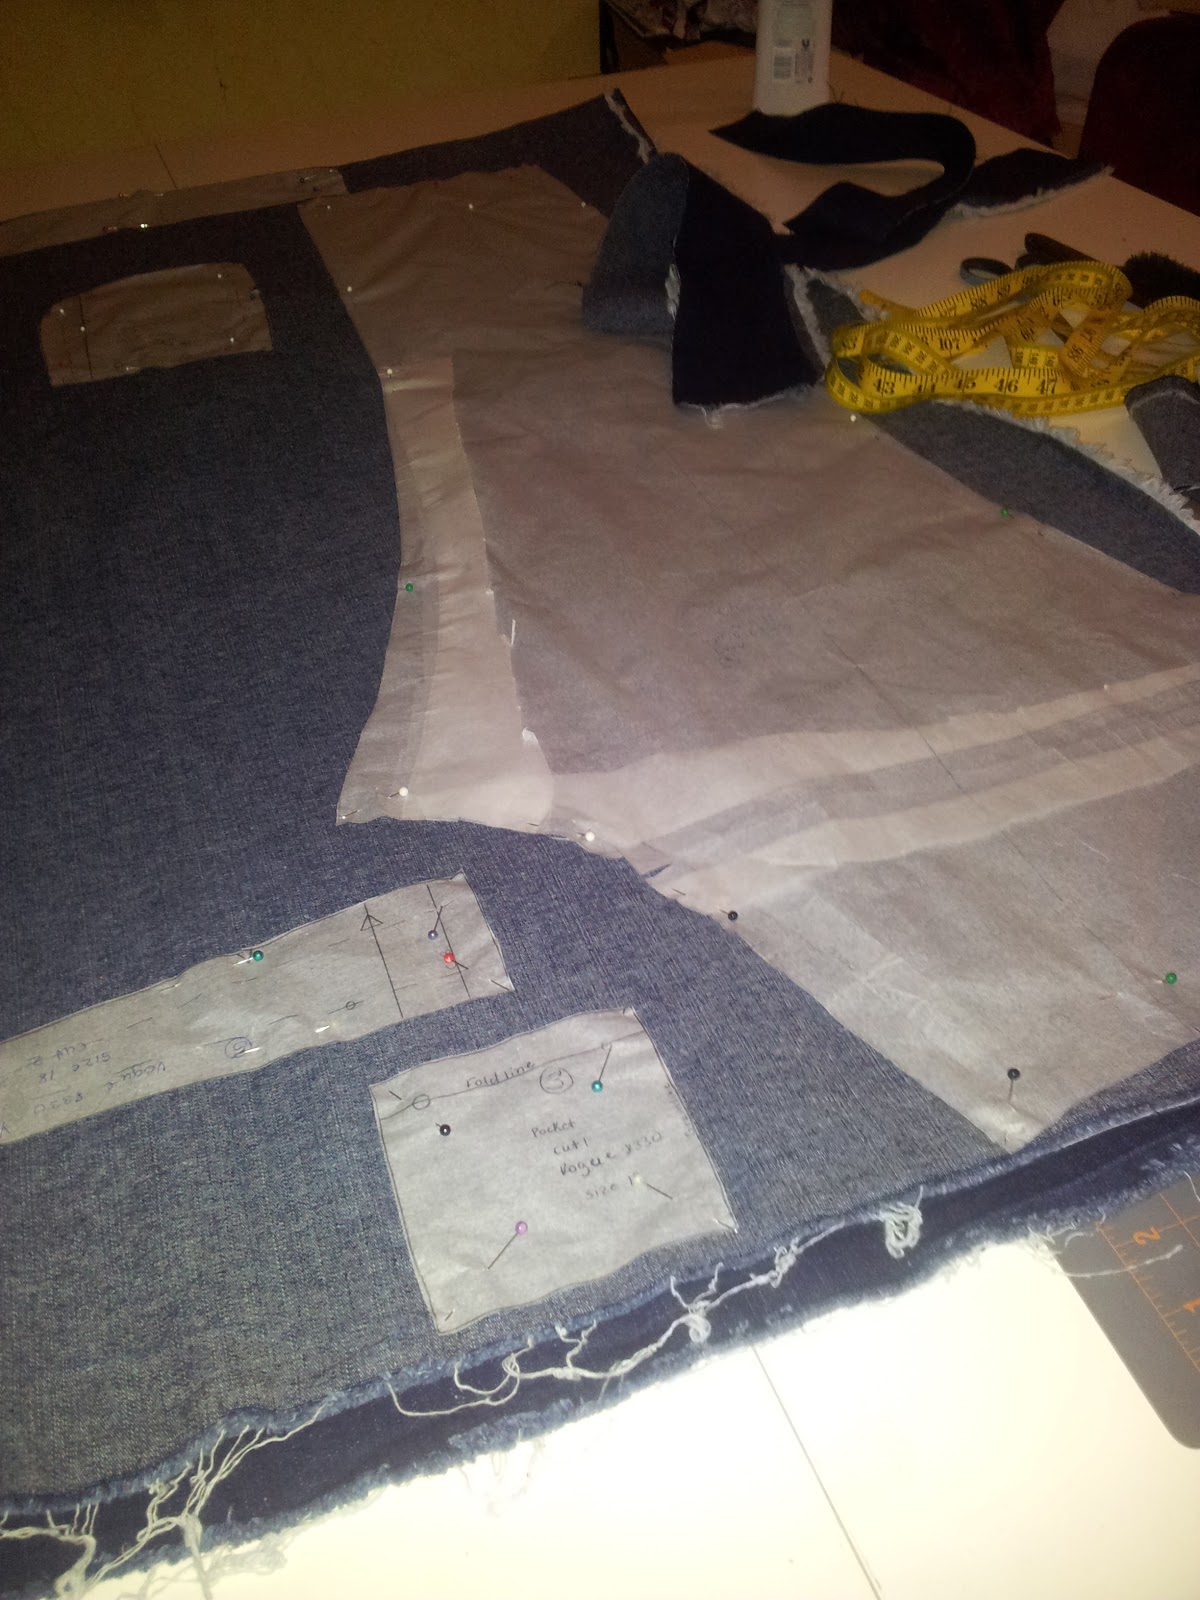
 A quick post to keep up with my goal for BlogtoberFest2012, blogging everyday for the month of October. So I finish fitting Vogue 8330 and think it is ready for the fashion fabric which is now cut, I had to make some changes with my layout because it was not working, pattern layouts don't cover if you made changes to the pattern but more on that when it comes during construction. I could have started working on them tonight but for some reason I just like to cut in one session and then start sewing the next, this is only for items that are not quick to sew.


 The scrapes leftover from 4 yards of denim in a skirt and jean.
 Everything ready to go, minus interfacing.
 Interesting pocket lining.
Wow, 63 steps to complete before I have a finished pair of jeans. Well like the saying goes "A journey of a 1000 miles starts with a single step".


Until next time, happy sewing...

Sunday, October 14, 2012

BurdaStyle 9-2012-109 In A LBD


Remember that post a few weeks ago where I talked about all the things I wanted to make from the September issue of Burdastyle. Well now I'm ready for my first item with a plan. I'm hoping to use the shift dress in the LBD contest coming up next month over at PR.com. Once I finish up my jeans I want to start fitting it and have it ready on October 1 so keep an eye on Instagram. I'm still waiting for the rules to be posted but I don't think there will be any surprises.
On another note, I think I am done with my jeans pattern but my fabric was not ready, so while that was washing I took time out to look for a basic dress pattern for the contest, so studio time was put to good use.

Until next time, happy sewing...

Saturday, October 13, 2012

Vogue 8330 More Steps Done

So today I was able to get a lot more steps done in completing Vogue 8330.
Step 2- Take important self and pattern measurements
Step 3- Adjust pattern accordingly and true
Step 4- Pin pattern to muslin
Step 5- Cut out muslin
Step 6- Assemble muslin
Step 7- Note any additional changes

So this is where I finished tonight, my time I had in my studio was cut short by my youngest son he is a little sick and cuddling with mommy seems to be his best medicine, I can't complain. Pics coming soon.

Until next time, happy sewing

Friday, October 12, 2012

Vogue 8330 Step 2

 Step two is to add seam or stitching lines to the pattern for fitting. So this part took me no time to really do. Had I started earlier I could have done more but at least I finished what I had planned. This was for only 4 pieces, front and back pant leg, yoke and side front. For the waistband I just wrapped it around me lining up center front and center back and it looks like this might be a tad big in the waist. I'm starting with a size 18 but my measurements put me between a 16 and 18. I decided to go with the larger size since this is a fitted style and I can easily take it in instead of letting out. So this is where I stand tonight. I'm hoping to get more done tomorrow since the kiddies will be in school tomorrow and my menu is already planned.


Until next time, happy sewing...

Thursday, October 11, 2012

Vogue 8330 Sewing in Steps

 For me one of the hardest things about sewing is knowing everything I have to go through from starting with a new pattern to fitting to muslin to adjustments to more fitting and then getting to the fashion fabric and taking my time to sew it up nicely, that's a lot and can be overwhelming or discouraging depending on the circumstance. That is part of the reason I'm so into the idea of using TnT patterns. Only problem is that TnTs start off just like all other patterns before they end up as TnTs, so while I'm building my pattern collection, this is what I will have to go through. Last night when I was thinking about all that I wanted to sew this month and then also find and fit a dress pattern for the LBD contest coming up next month, I became a bit overwhelmed and sometimes for me that leads to discouragement and then not doing anything and of course it leads to failure. Not this time I have to push past all these things if I want to reach my sewing goals. So after that moment I remembered someone mentioning breaking things down into steps and just focus on the step you are on and nothing else and then before you know it your done. So I broke down fitting and making up my jeans into fourteen steps or two weeks worth of work, I'm hoping to make it less than that but if not its okay.

My first step was to trace and cut out all 10 of my pattern pieces, which is now done. Now 13 more steps to go, but I will not post them ahead of time instead I will post them as I complete them. So stay tuned.


Until next time, happy sewing...

Wednesday, October 10, 2012

Vogue 8330


So I have picked Vogue 8330 for my skinny jeans. This is not my first time trying to make jeans but the last pair was not as successful as I would have liked. So I'm whipping out all of my pants fitting books to make sure this pair hopefully doesn't turn out like the last.


Until next time, happy sewing...

Tuesday, October 09, 2012

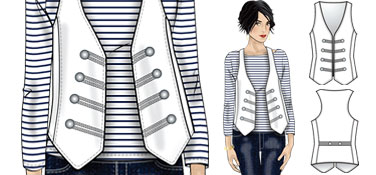
Vest Is Done

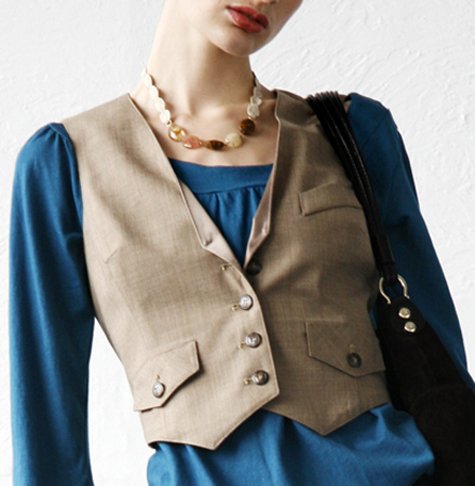
 So I am FINALLY done with my vest and I am glad I did. This is my first time sewing a vest and I can see somethings I need to tweak about it but all in all I am happy with it and looking forward to making another in the near future. Now this is my first time doing an FBA on a princess seam and with it now done I think it did not have to add as much as I did but I am still happy with the fit and can just tweak it a little for the next one.


PR review:
Pattern Description: Lined vest with 6 variations

Pattern Sizing: 6 to 22 I used a size 14 with an fba

Did it look like the photo/drawing on the pattern envelope once you were done sewing with it? Yes

Were the instructions easy to follow? Pretty much , you have to bounce around a bit depending on which view you choose, but its only three pages of instructions.

What did you particularly like or dislike about the pattern? I have no dislikes, this is my first time sewing a vest so not much to compare it to.

Fabric Used: A cotton sateen left over from a skirt

Pattern alterations or any design changes you made: I did an FBA, my first for a princess seam, and I lowered the apex a bit. I also left off the pocket flap (no real pocket).

Would you sew it again? Would you recommend it to others? Yes and Yes

Conclusion: This is my first vest and I am happy that I did sew one and now I have a few more planned in the near future.

 Inside showing facing and lining.
 Flat on a table.
This is not something I learned in a book, but this is how I mark my buttons when I have to replace them after the FBA distorted the original placement.


Until next time, happy sewing...

Saturday, October 06, 2012

Sew Your Own Vest

Free Hornpipe vest from fabric.com


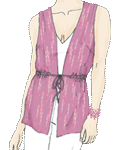
Slinky Slouchy Drawstring vest @ fabric.com
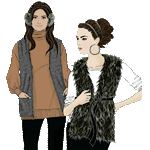
Snuggle up scrarf vest @fabric.com
Franzi Vest @burdastyle.com
Until next time, happy sewing...

Friday, October 05, 2012

Bound Buttonholes.... Still Working On It

Learning to do bound buttonholes has been goal of mine ever since I saw few other sewing bloggers use them on some of their outer wear, and I do have to say they take any garment to the next level.  So I have many books and several Threads articals that explain how to do bound buttonholes but I decided to start with Vogue Sewing Book for no particular reason just did. Since I have and older one that I got from my great aunt and one that I bought a few years ago, I decided to see how they compare. Well they are almost the exact same including pictures, at least in the case of how to do bound buttonholes. Slight differences are drawings being slightly enhanced with red color and also instead of just measurements in imperial they are also in metric with the newer version. You can see with the pictures below. Just let everyone know now: THIS IS NOT A TUTORIAL. Just showing others what I'm learning and my progress as I learn.

Two piece method for bound buttonholes in the older book from 1973.

 Two piece method for bound buttonholes in the newer book from 2006. Also as you can see in the newer version the directions are broken down into each step instead of paragraph form found in the older version.


 Since I was thinking of putting them on my vest I'm working on I decided to go with the two piece method, since the book says" This method  is fast and easy for firm fabrics and textured knits"

So I'm using leftover fabric from the skirt and vest( which is W.I.P.). I cut enough strips for 10 practice buttonholes. Each stripe should be inch wide and length equals length of buttonholes plus 1 inch, times two for each buttonhole.

 I'm using what I have for now which are some buttons I picked up when I was still in America but I would like something a little smaller, so if I get a chance to go shopping for other buttons before I am done with this vest I'm replacing these. So based on that equation above, each piece should be 1 inch wide and 1 3/4 inches long.
 Step 2: Wrong sides together, fold strip in half lenghtwise  and press lightly.
 Step 3: Machine baste 1/8" (3mm) from folded edge.
As you can see my machine has the 1/8" making on the plate so this was easy for me to do.

Step 4: Cut the strip into sections the lenght of the buttonhole plus 1" (25mm) and trim the cut edge to a scant 1/8" (3mm) frrom the stitching.


My stripes cut and ready.

 Step 5: Baste one stripe to the right side, placing the cut edge along the thread-traced position line. Using small stitches, stitch the lenght of the buttonhole through all thicknessess directly over the stitching on the strip. Leave the thread ends long enough to tie. Repeat for the second strip on the opposite side of the thread traced line so that the cut edges meet.

Step 6: Pull the thread ends through to the wrong side; tie.

Step 7: Slash, being careful not to cut through the strips.

Step 8: Turn the strips  to the inside and press.

Step 9: Finish the corners as shown in previous methods.
This is my second practice buttonhole the one just above is my first.
 This is the third buttonhole.
and this is my fourth buttonhole. I did do a fifth but no pic of it. I plan to practice the remaining five tonight.


Until next time, happy sewing...

Monday, October 01, 2012

Blogtoberfest 2012


It took me a few days to decide but I'm going to once again TRY to participate in the Blogtoberfest 2012. I entered last year but that was a big fail. I have to really think about my time and ability, my aim is to blog everyday but if I can get in every other day I'll be happy. 


To learn more or to participate in blogtoberfest you can visit I Saw You Dancing. Also you can follow along via Twitter and Instagram with #blogtoberfest12 .


Next up will be my composite photo and review and post links of my mini wardrobe from last month, and remember if your a member of PR voting starts October 3rd. 


Until next time, happy sewing...

LinkWithin

Related Posts with Thumbnails